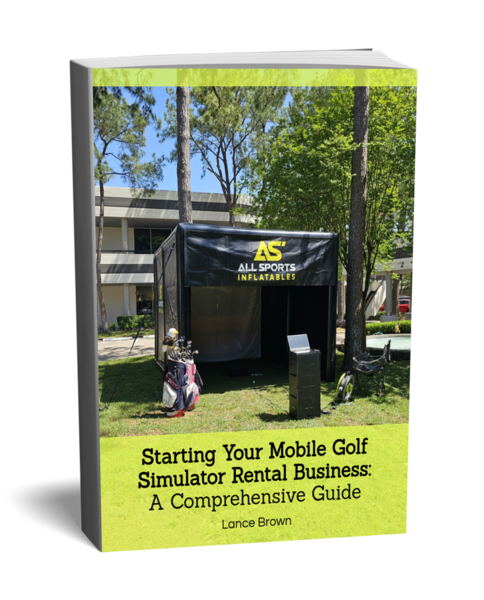
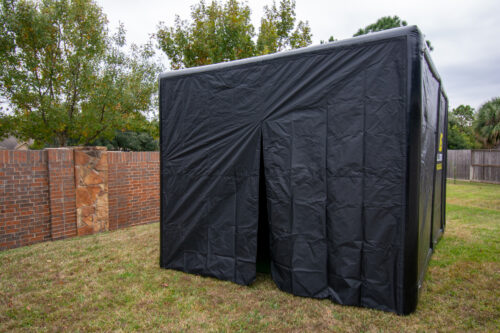
ASI is excited to announce the first-ever indoor inflatable golf simulator bay. Use it for hitting practice or add a projector for a complete golf simulation experience. Our simulation bays inflate in less than 3 minutes and, depending on your SIM accessories, are ready to play a course or your favorite golf games in less than 30 minutes.
Inflatable Golf Simulator Bays
$2,699.00 – $3,299.00
-
ASI is excited to announce the first-ever indoor inflatable golf simulator bay. Use it for hitting practice or add a projector for a complete golf simulation experience. Our simulation bays inflate in less than 3 minutes, and depending on your SIM accessories, you are ready to play your favorite course or game in less than 30 minutes.
Our latest unit introduces new improvements to our range of inflatable golf enclosures. We’ve included an extra vertical frame tube at the back to move the screen forward and stop golf balls from hitting the lower horizontal frame and rebounding.
Outside Dimensions
• 12′ wide x 6′ deep x 8.5′ high OR
• 16′ wide x 6′ deep x 9′ high (pictured)
• Heavy-duty PVC tarpaulin frame
• Heavy-duty water-resistant cover – inside and outside
• One-piece frame and cover for easy setup and takedown
• Rear impact net secured to the enclosure
• Projector impact screen included with heavy-duty Velcro
• Protective side nets with small sandbags
• The 12ft wide unit has a screen aspect ratio of 4:3, and the 16ft wide unit is 16:9
• 8 D-rings outside for securing the enclosure to the ground if needed
• 800-watt electric air pump included
We supply the inflatable sim bay & pump; you provide everything else. With so many specific needs, wants, budgets, and skill sets, it is best for you to complete your golf SIM with what you want and need.
Standard production & shipping are estimated at 3-4 weeks from the time of order.
Bring Your Own Gear
We supply the inflatable enclosure, and you provide everything else. With so many different products, specific needs, budgets, and skill sets, completing your ASI golf SIM with what you need is the best option.
- What do I need to complete this SIM?
- Launch Monitor
- Hitting Mat
- Projector
- Simulator Software
- Laptop, desktop, tablet, phone (depending on simulator software)
*None of this is included with the purchase of the enclosure.
Inflating
- Find a spot at least 12′ wide by 6′ deep. Cover with artificial turf or other flooring (optional). In the picture, the turf is two sections of 6’x12′.
- Place the rolled enclosure on the surface.
- Roll out the enclosure.
- Expand the enclosure to be flat on the surface.
- Locate the air valve which will be in the back right left corner of the enclosure.
- Position the enclosure on the surface as needed based on the valve location.
- Connect the included air pump and begin to inflate.
- It will take up to 5 minutes to fully inflate. You can reposition the enclosure as it is inflating if needed.
- Turn off pump, remove nozzle and press the air valve once to stop air from coming out.
That is it. Time to tee off!
Deflating
- To deflate, push in the release valve and start to let out the air.
- I have found the best way to start to pack the enclosure is lay it on its back and let the sides fold inward.
- Walk around and straighten out the enclosure to be as square as possible.
- Attach the air pump to start to deflate, and switch the hose to the other end of the pump for suction.
- Once deflated, start to fold by folding one side over to the middle.
- Then fold the other side over to meet in the middle.
- Fold the entire enclosure in half.
- Start to roll from the front and continue till you reach the back.
- I would suggest securing the rolled enclosure with straps to keep its shape and it will make it easier to lift and store.
- Lastly, place the entire enclosure inside our new storage/transport bags for protection until your next use. Click here for bag details.
You are now ready for your next tee time.


Reviews
There are no reviews yet.